Step-By-Step Instructions
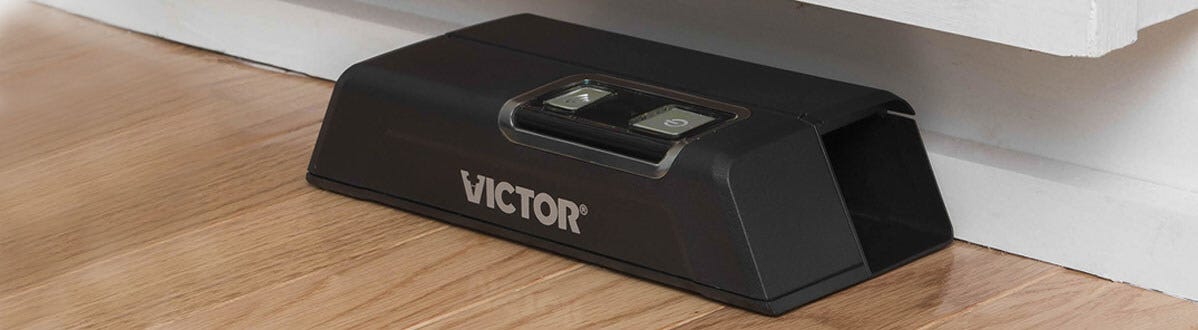
- Press the power button to turn the trap OFF, then remove the batteries. Hold the trap with the battery compartment in your left hand, buttons facing upwards and the rodent entrance facing towards you.
- With your right hand push forward and separate the kill chamber from the electronics housing.
- The kill chamber is now ready for cleaning. Open the rodent disposal door. Use a hydrogen peroxide topical solution (available at most drug stores) and an old toothbrush to clean the inside of the chamber. If needed, use a wire brush to remove any corrosion, being careful not to be too vigorous. This could accidentally remove all of the protective zinc plating.
- Thoroughly dry the interior and exterior of the kill chamber prior to trap reassembly.
- To reassemble trap, hold the battery compartment in your left hand, buttons facing upwards. Hold the kill chamber in your right hand with the rodent entrance facing towards you. Align the key holes and insert keys into opposite openings while pulling your right hand backwards to reconnect the halves.
- The trap is ready for use.

 Download the free Victor® Pest app and get connected